Set up Apollo Client
Connect to your API from your frontend
Time to accomplish: 10 Minutes
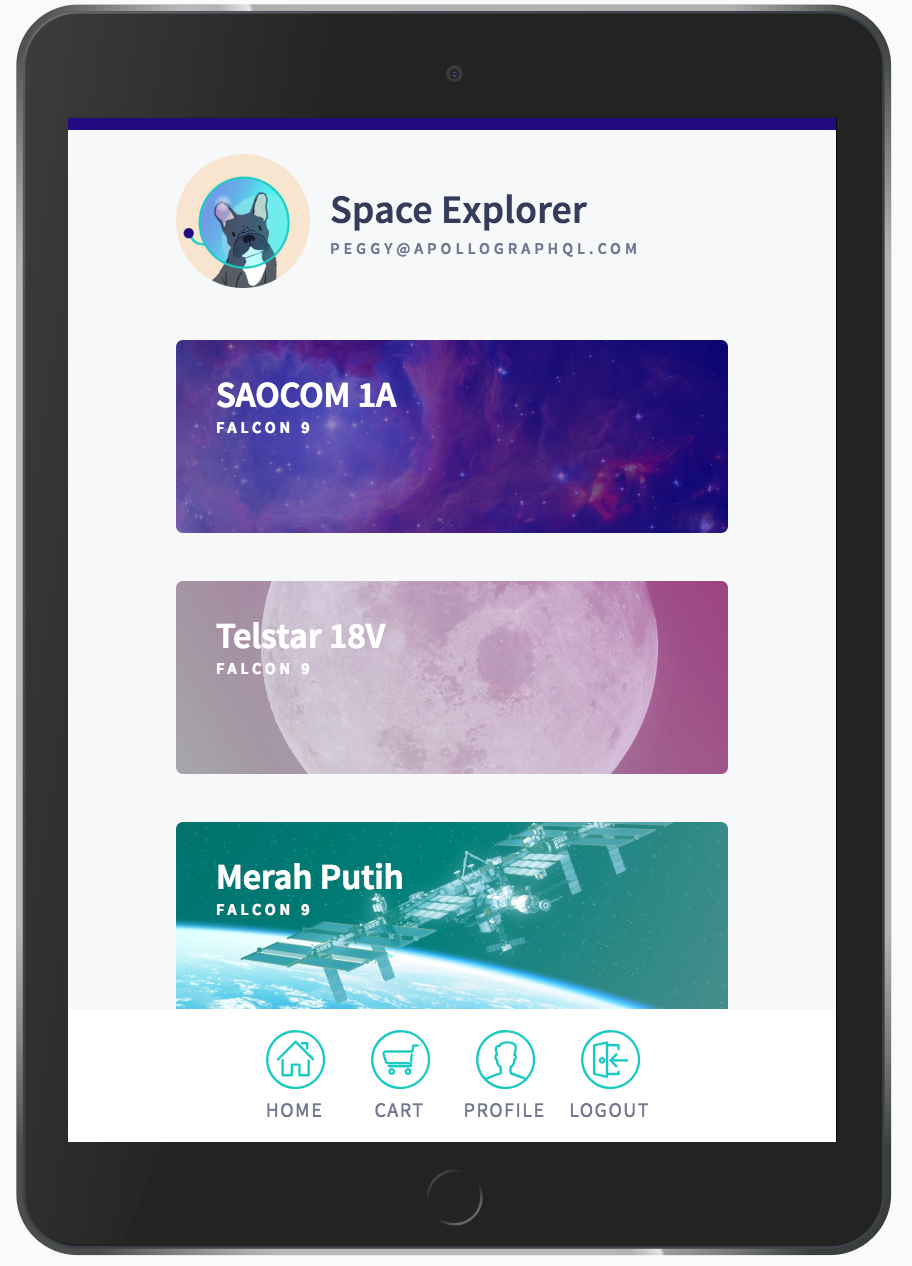
The remaining chapters of this tutorial walk through building our application frontend, which uses Apollo Client to communicate with the GraphQL server we just built:

Apollo Client is a comprehensive state management library for JavaScript. It enables you to use GraphQL to manage both local and remote data. Apollo Client is view-layer agnostic, so you can use it with React, Vue, Angular, or even vanilla JS.
This tutorial uses React (which Apollo Client's core library supports out of the box), but the underlying concepts are the same for every view layer.
Setup
We'll be working in the start/client/ directory of our tutorial repo (clone the repo here if you skipped the server portion). From that directory, run:
npm installAlong with installing other dependencies, this installs the @apollo/client package, which includes all of the Apollo Client features we'll use.
Install the Apollo extension for VSCode (optional)
Apollo provides an extension for Visual Studio Code that includes loads of helpful features, such as syntax highlighting, GraphQL field suggestions via IntelliSense, and in-line performance estimates.
Most of the VSCode extension's features are powered by Apollo Studio. To get the most out of the extension, make sure to first complete Connect to Apollo Studio.
Like Apollo Server, the VSCode extension uses an API key to communicate with Studio. You provide this API key by setting the value of the
APOLLO_KEYenvironment variable.Create a
.envfile instart/clientby making a copy ofstart/client/.env.example. Then paste your API key into it like so:.envAPOLLO_KEY=PASTE_YOUR_KEY_HEREOur key is now stored under the environment variable
APOLLO_KEY. Apollo VSCode uses this API key to fetch your server's schema from the Apollo schema registry.Also in
start/client, open the empty file calledapollo.config.js. You use this file to configure the behavior of both the Apollo VSCode extension and the Apollo CLI.Paste the snippet below into the file:
apollo.config.jsmodule.exports = { client: { name: 'Space Explorer [web]', service: 'PASTE_YOUR_GRAPH_NAME_HERE', }, };Replace
PASTE_YOUR_GRAPH_NAME_HEREwith the unique name of the graph you created in Studio in the previous chapter.
That takes care of the VSCode extension! Now, let's dive into building our first client.
Initialize ApolloClient
The code blocks below use TypeScript by default. You can use the dropdown menu above each code block to switch to JavaScript.
If you're using JavaScript, use
.jsand.jsxfile extensions wherever.tsand.tsxappear.
Let's create our instance of ApolloClient by pasting the following into src/index.tsx:
import {
  ApolloClient,
  gql,
  NormalizedCacheObject
} from '@apollo/client';
import { cache } from './cache';

const client: ApolloClient<NormalizedCacheObject> = new ApolloClient({
  cache,
  uri: 'http://localhost:4000/graphql'
});
The ApolloClient constructor requires two parameters:
- The
uriof our GraphQL server (in this caselocalhost:4000/graphql). - An instance of
InMemoryCacheto use as the client'scache. We import this instance from thecache.tsfile.
In just these few lines of code, our client is ready to fetch data!
Make your first query
Before we integrate Apollo Client with a React view layer, let's try sending a query with vanilla JavaScript.
Add the following to the bottom of
index.tsx:src/index.tsx// ...ApolloClient instantiated here... client .query({ query: gql` query TestQuery { launch(id: 56) { id mission { name } } } ` }) .then(result => console.log(result));Make sure your GraphQL server is running. If you didn't complete the server portion of the tutorial, you can run the finished server by running the following commands from
final/server:npm install npm startFrom
start/client, runnpm startto build and run your client app. When the build finishes, your browser opens tohttp://localhost:3000/automatically.When the index page opens, open up the console in your browser's developer tools. You'll see a logged
Objectthat contains your server's response to your query. The data you requested is contained in the object'sdatafield, and the other fields provide metadata about the state of the request.You can also open the Network tab in your browser's developer tools and refresh the page to view the shape of the request that Apollo Client makes to execute your query (it's a POST request to
localhost:4000).Go ahead and delete the
client.query()call you just added, along with the import ofgqlthat's no longer needed.
Now, let's integrate our client with React.