Build a schema
Create the blueprint for your data graph
Time to accomplish: 15 minutes
Every data graph uses a schema to define the types of data it includes. For example, the schema for an online bookstore might include the following types:
# A book has a title and an author
type Book {
  title: String
  author: Author
}

# An author has a name and a list of books
type Author {
  name: String
  books: [Book]
}
In the steps below, we'll set up a GraphQL server that will enforce our schema's structure, and then we'll define the schema itself.
Set up Apollo Server
A schema is only useful if our data graph conforms to the schema's structure. Enforcing a schema's structure is one of the core features of Apollo Server, a production-ready, open-source library that helps you implement your data graph's API.
From the start/server directory, let's install Apollo Server (along with our project's other dependencies):
cd start/server && npm installThe two packages you need to get started with Apollo Server are apollo-server and graphql, both of which are installed with the above command.
Now, let's navigate to src/index.js so we can create our server. Paste the code below into the file:
const { ApolloServer } = require('apollo-server');
const typeDefs = require('./schema');

const server = new ApolloServer({ typeDefs });
This code imports the ApolloServer class from apollo-server, along with our (currently undefined) schema from src/schema.js. It then creates a new instance of ApolloServer and passes it the imported schema via the typeDefs property.
Now that Apollo Server is prepared to receive our schema, let's define it.
Define your schema's types
Your GraphQL schema defines what types of data a client can read and write to your data graph. Schemas are strongly typed, which unlocks powerful developer tooling.
Your schema's structure should support the actions that your clients will take. Our example app needs to be able to:
- Fetch a list of all upcoming rocket launches
- Fetch a specific launch by its ID
- Log in the user
- Book a launch for a logged-in user
- Cancel a previously booked launch for a logged-in user
Let's design our schema to make these actions straightforward.
In src/schema.js, import gql from apollo-server and create a variable called typeDefs for your schema:
const { gql } = require('apollo-server');

const typeDefs = gql`
  # Your schema will go here
`;

module.exports = typeDefs;
The schema will go inside the gql function (between the backticks). The language we'll use to write the schema is GraphQL's schema definition language (SDL).
Because the schema sits directly between your application clients and your underlying data services, front-end and back-end teams should collaborate on its structure. When you develop your own data graph, practice schema-first development and agree on a schema before you begin implementing your API.
Object types
Most of the definitions in a GraphQL schema are object types. Each object type you define should represent an object that an application client might need to interact with.
For example, our example app needs to be able to fetch a list of upcoming rocket launches, so we should define a Launch type to support that behavior.
Paste the following inside the backticks of the typeDefs declaration in src/schema.js:
type Launch {
  id: ID!
  site: String
  mission: Mission
  rocket: Rocket
  isBooked: Boolean!
}
The Launch object type has a collection of fields, and each field has a type of its own. A field's type can be either an object type or a scalar type. A scalar type is a primitive (like ID, String, Boolean, or Int) that resolves to a single value. In addition to GraphQL's built-in scalar types, you can define custom scalar types.
An exclamation point (
!) after a declared field's type means "this field's value can never be null."
In the Launch definition above, Mission and Rocket refer to other object types. Let's add definitions for those, along with the User type (again, all inside the backticks):
type Rocket {
  id: ID!
  name: String
  type: String
}

type User {
  id: ID!
  email: String!
  trips: [Launch]!
  token: String
}

type Mission {
  name: String
  missionPatch(size: PatchSize): String
}

enum PatchSize {
  SMALL
  LARGE
}
If a declared field's type is in
[Square Brackets], it's an array of the specified type. If an array has an exclamation point after it, the array cannot be null, but it can be empty.
Notice above that the missionPatch field of the Mission type takes an argument named size, which is of the enum type PatchSize. When you query for a field that takes an argument, the field's value can vary depending on the provided argument's value. In this case, the value you provide for size will determine which size of the mission's associated patch is returned (the SMALL size or the LARGE size).
The Query type
We've defined the objects that exist in our data graph, but clients don't yet have a way to fetch those objects. To resolve that, our schema needs to define queries that clients can execute against the data graph.
You define your data graph's supported queries as fields of a special type called the Query type. Paste the following into your schema definition:
type Query {
  launches: [Launch]!
  launch(id: ID!): Launch
  me: User
}
This Query type defines three available queries for clients to execute: launches, launch, and me.
- The
launchesquery will return an array of all upcomingLaunches. - The
launchquery will return a singleLaunchthat corresponds to theidargument provided to the query. - The
mequery will return details for theUserthat's currently logged in.
The Mutation type
Queries enable clients to fetch data, but not to modify data. To enable clients to modify data, our schema needs to define some mutations.
The Mutation type is a special type that's similar in structure to the Query type. Paste the following into your schema definition:
type Mutation {
  bookTrips(launchIds: [ID]!): TripUpdateResponse!
  cancelTrip(launchId: ID!): TripUpdateResponse!
  login(email: String): User
}
This Mutation type defines three available mutations for clients to execute: bookTrips, cancelTrip, and login.
- The
bookTripsmutation enables a logged-in user to book a trip on one or moreLaunches (specified by an array of launch IDs). - The
cancelTripmutation enables a logged-in user to cancel a trip that they previously booked. - The
loginmutation enables a user to log in by providing their email address.
The bookTrips and cancelTrip mutations return the same object type: a TripUpdateResponse. A mutation's return type is entirely up to you, but we recommend defining special object types specifically for mutation responses.
Add the definition for TripUpdateResponse to your schema:
type TripUpdateResponse {
  success: Boolean!
  message: String
  launches: [Launch]
}
This response type contains a success status, a corresponding message, and an array of any Launches that were modified by the mutation. It's good practice for a mutation to return whatever objects it modifies so the requesting client can update its cache and UI without needing to make a followup query.
Our example app's schema is now complete!
Run your server
Return to src/index.js and add the following call to the bottom of the file:
server.listen().then(() => {
  console.log(`
    Server is running!
    Listening on port 4000
    Explore at https://studio.apollographql.com/dev
  `);
});
After saving, run npm start to start your server! 🎉 Apollo Server is now available on port 4000.
Explore your schema
Now that our server is running, we can introspect its schema types and fields with useful developer tools. Later, we'll also be able to run test queries from those tools.
Introspection is a helpful GraphQL feature that enables you to obtain a server's schema for development purposes. It should be disabled for servers running in production. Apollo Server disables introspection automatically if the
NODE_ENVenvironment variable is set toproduction.
With Apollo Studio (recommended)
The Apollo Studio Explorer is a powerful free web IDE for exploring your GraphQL schema and building queries against it:
To use the Explorer with your locally running server, you create a dev graph in Apollo Studio, like so:
-
Visit studio.apollographql.com/dev.
You'll be prompted to create an Apollo account if you don't already have one (again, Apollo accounts and the Explorer are completely free).
-
In the form that appears, specify a name for your graph and your local server's URL (
http://localhost:4000for this tutorial):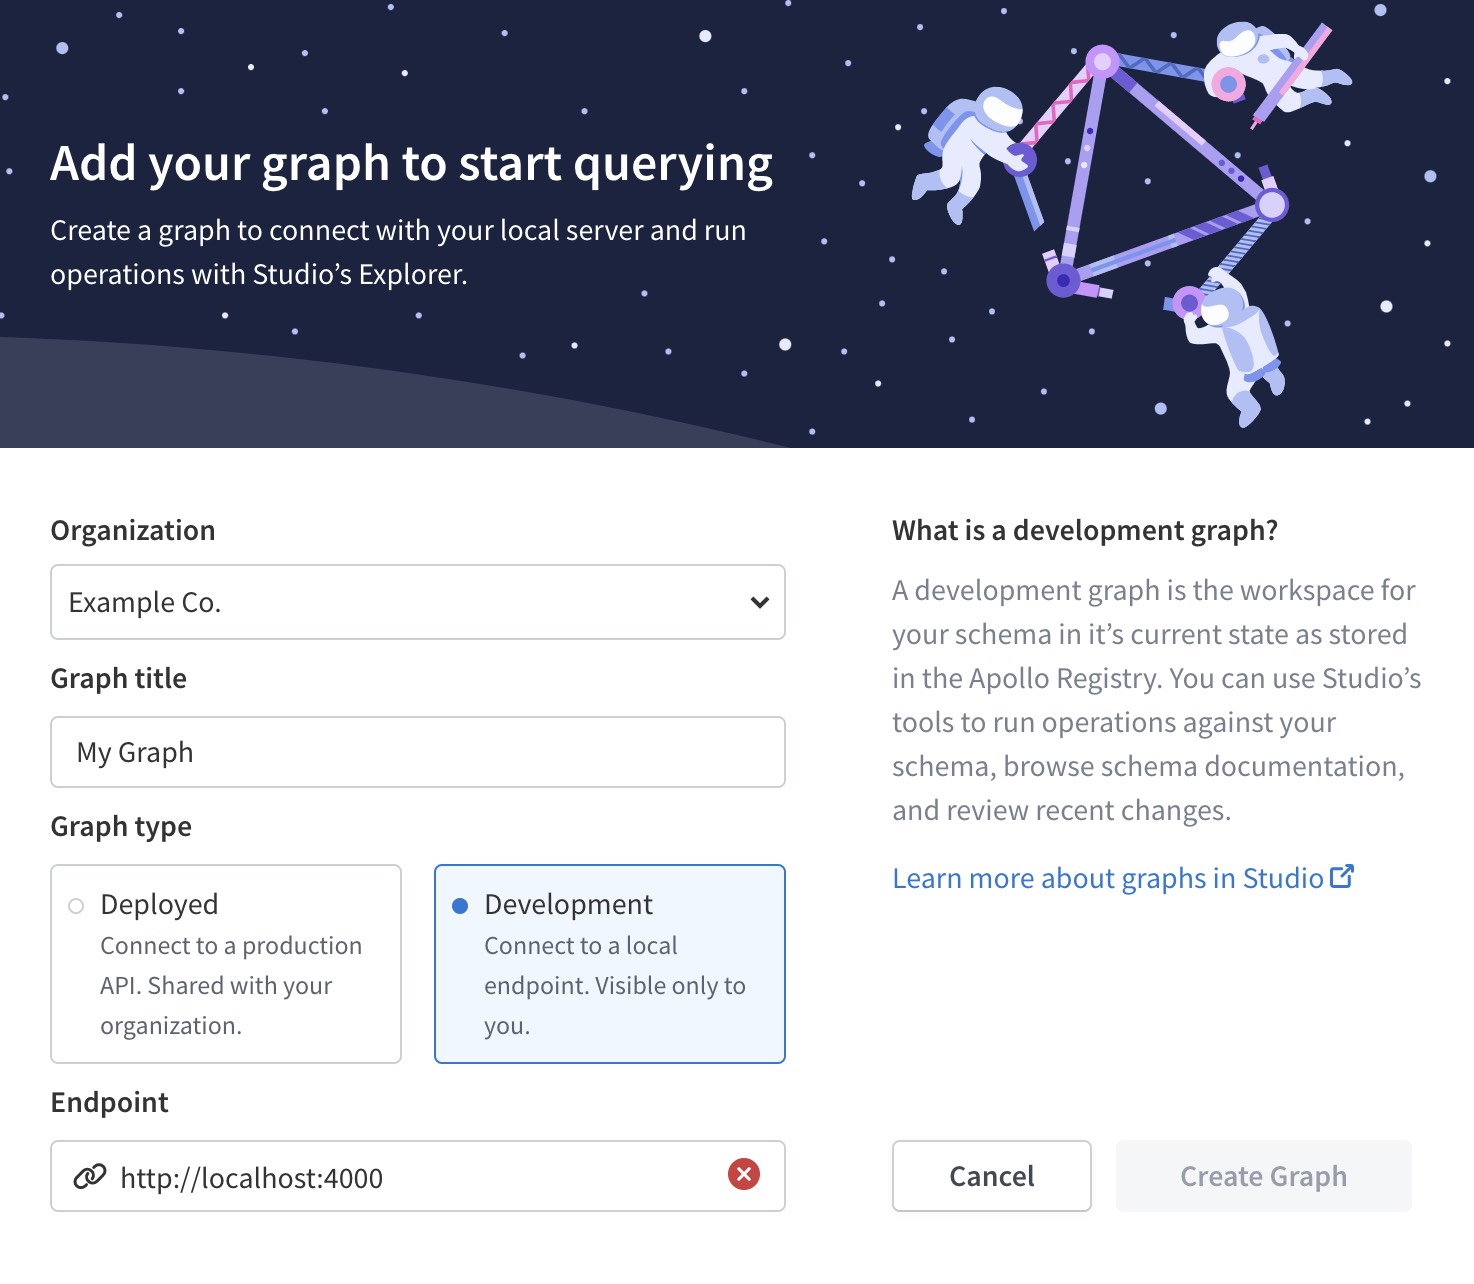
- Click Create graph. Studio automatically opens the Explorer to use with your server!
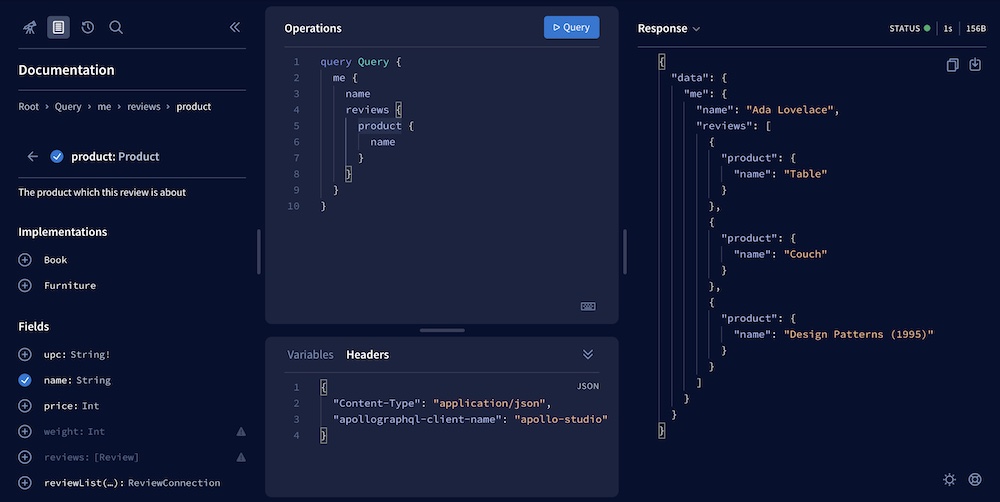
To introspect your server's schema in the Explorer, click the Documentation tab on the left side:
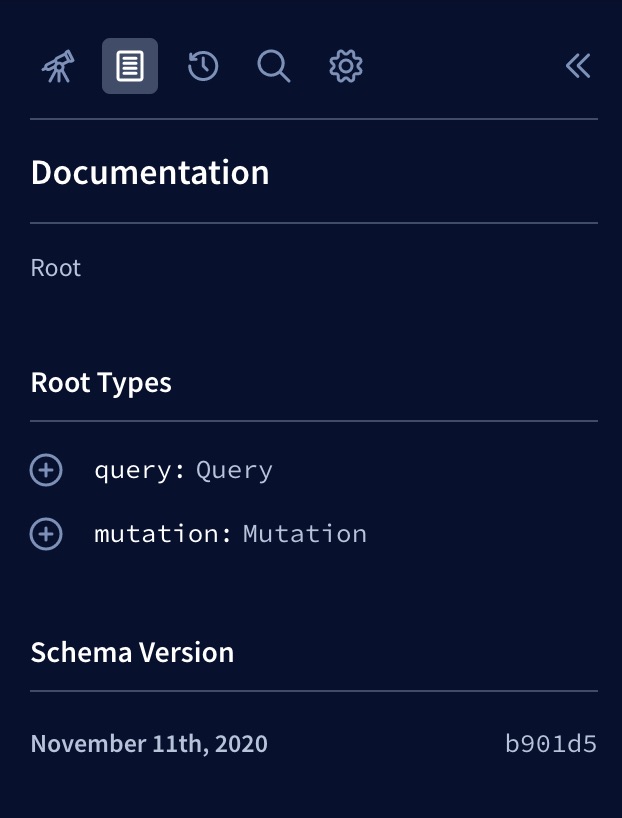
Your schema's root types (Query and Mutation) appear. You can click any type to view its fields and step down into your schema. You'll see that the types and fields match what we provided to our server.
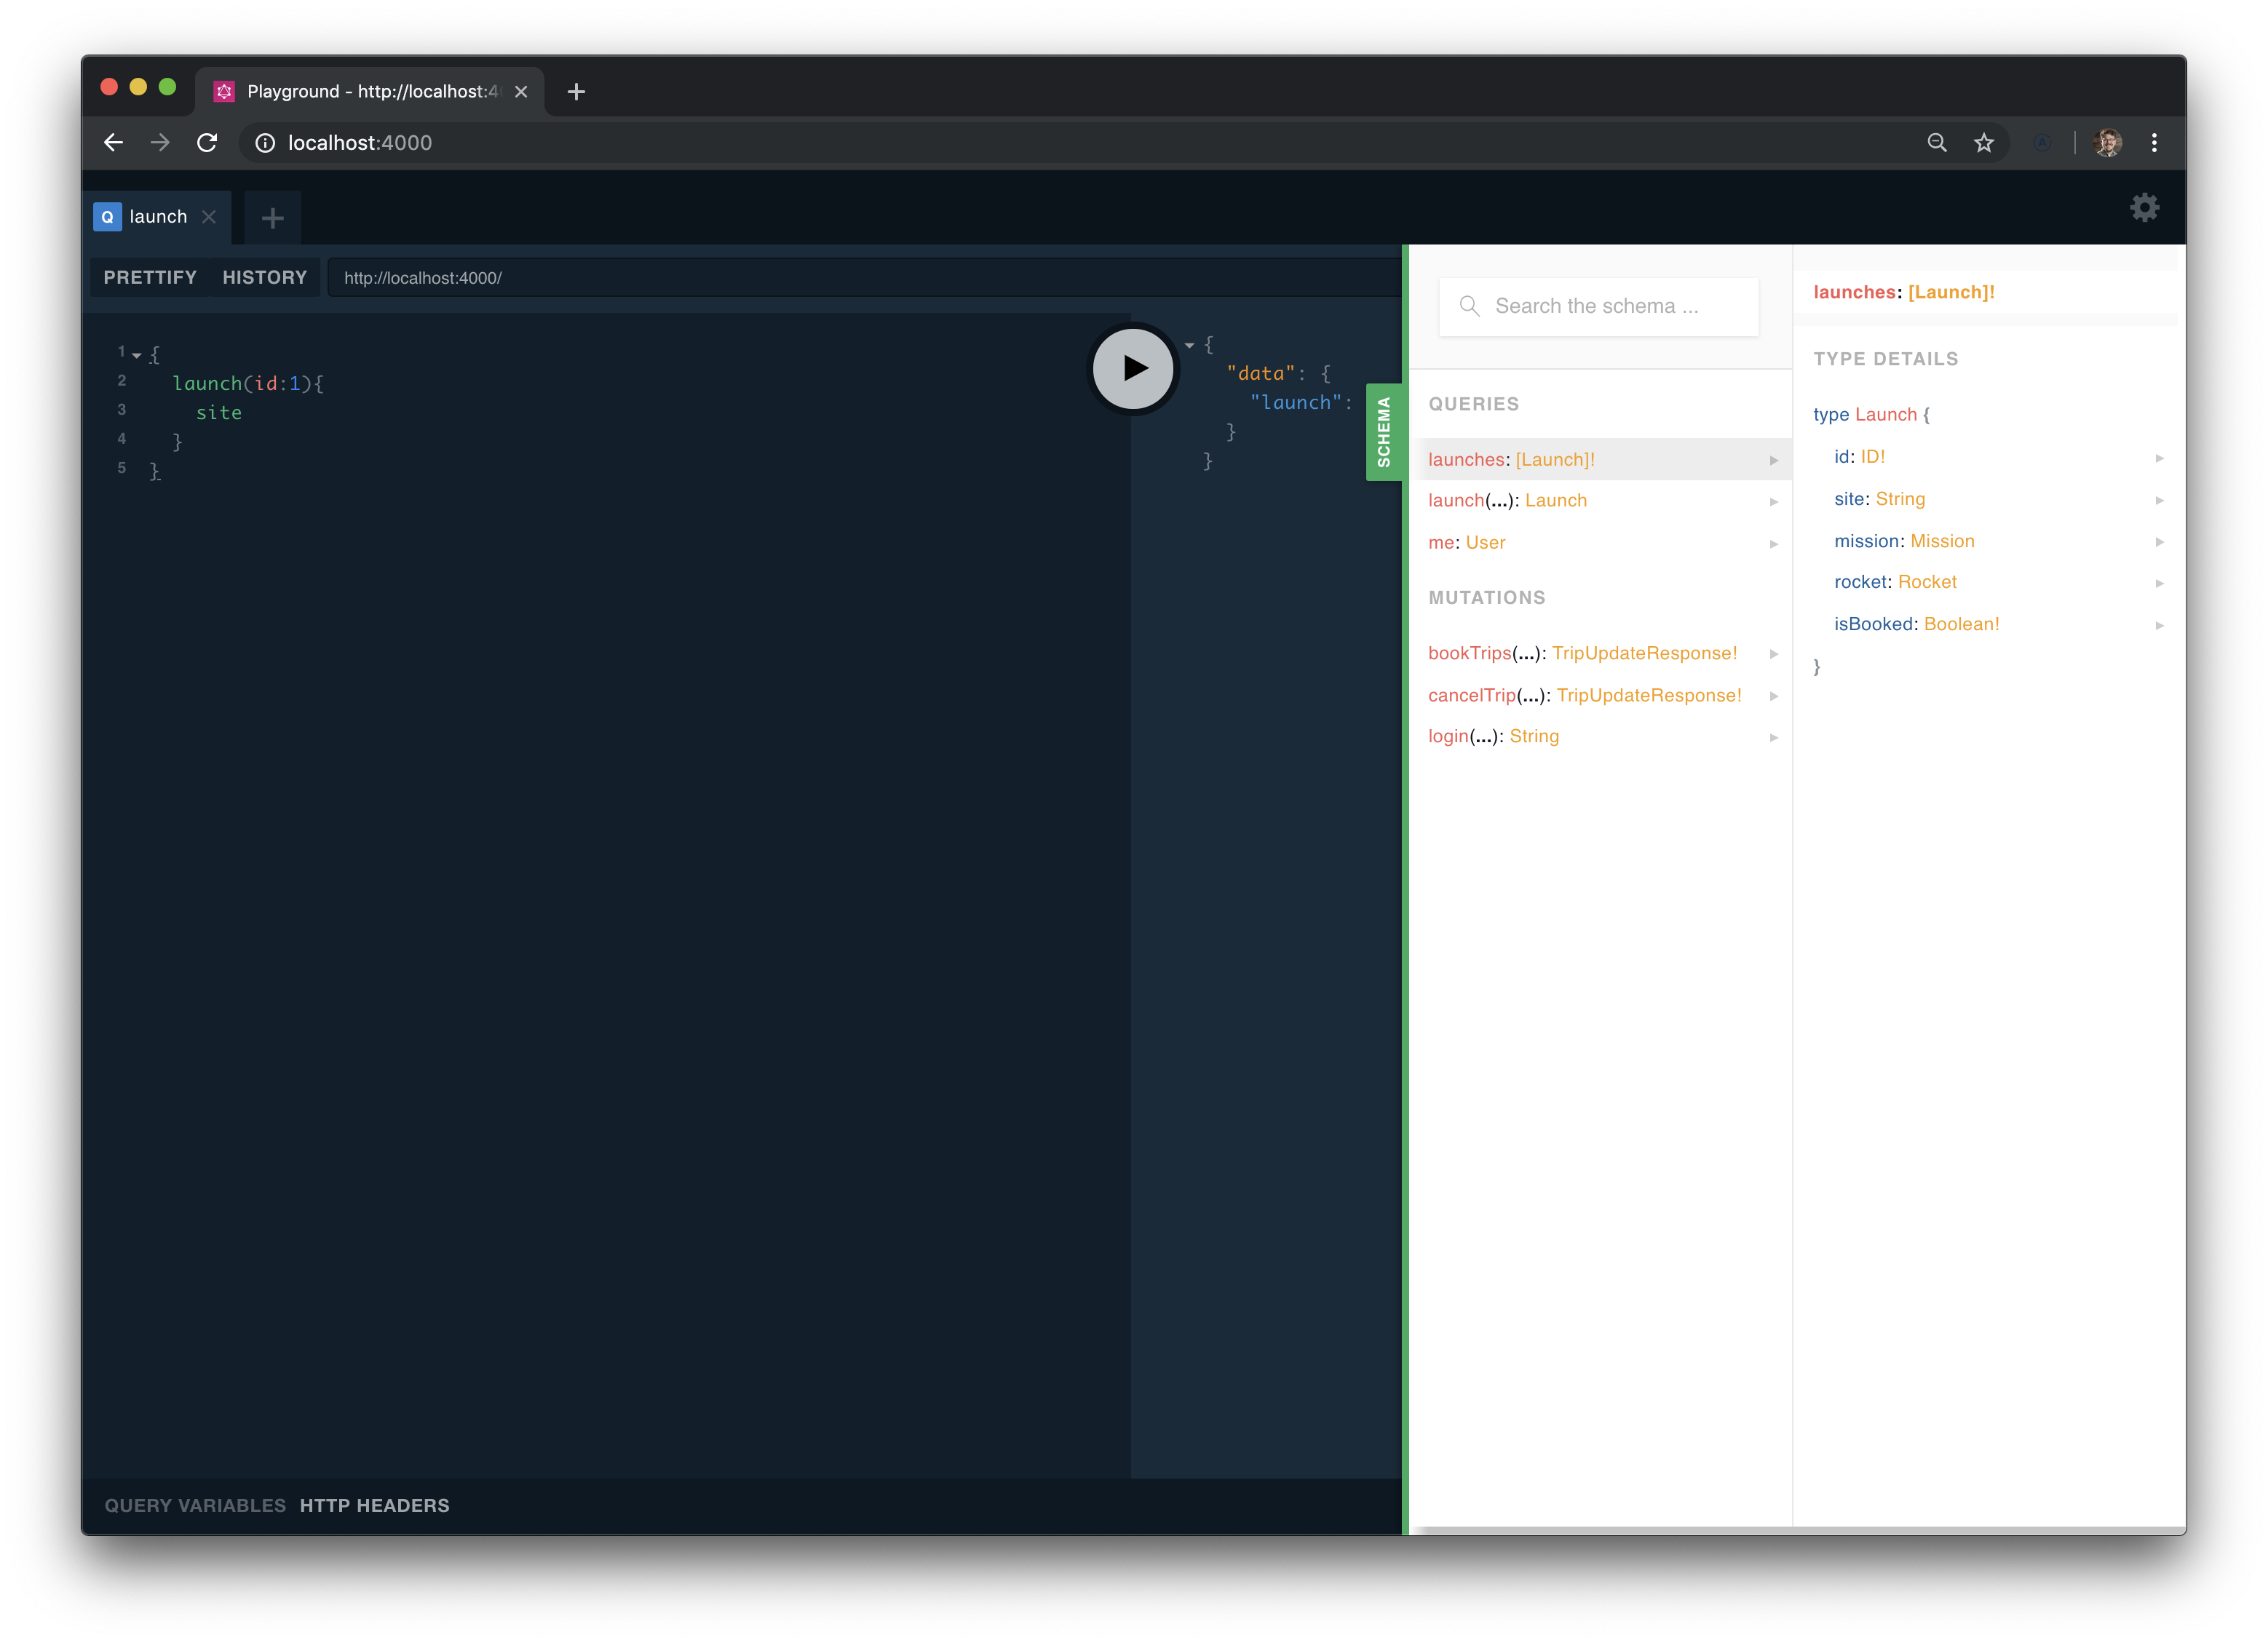
With GraphQL Playground
GraphQL Playground is an open-source tool for querying your GraphQL server. It provides fewer features than the Apollo Studio Explorer, but it does everything we need for this tutorial. It's also included in every Apollo Server installation.
With your server running, visit localhost:4000 in your browser to open GraphQL Playground. To introspect your server's schema, click the Schema button on the right side:
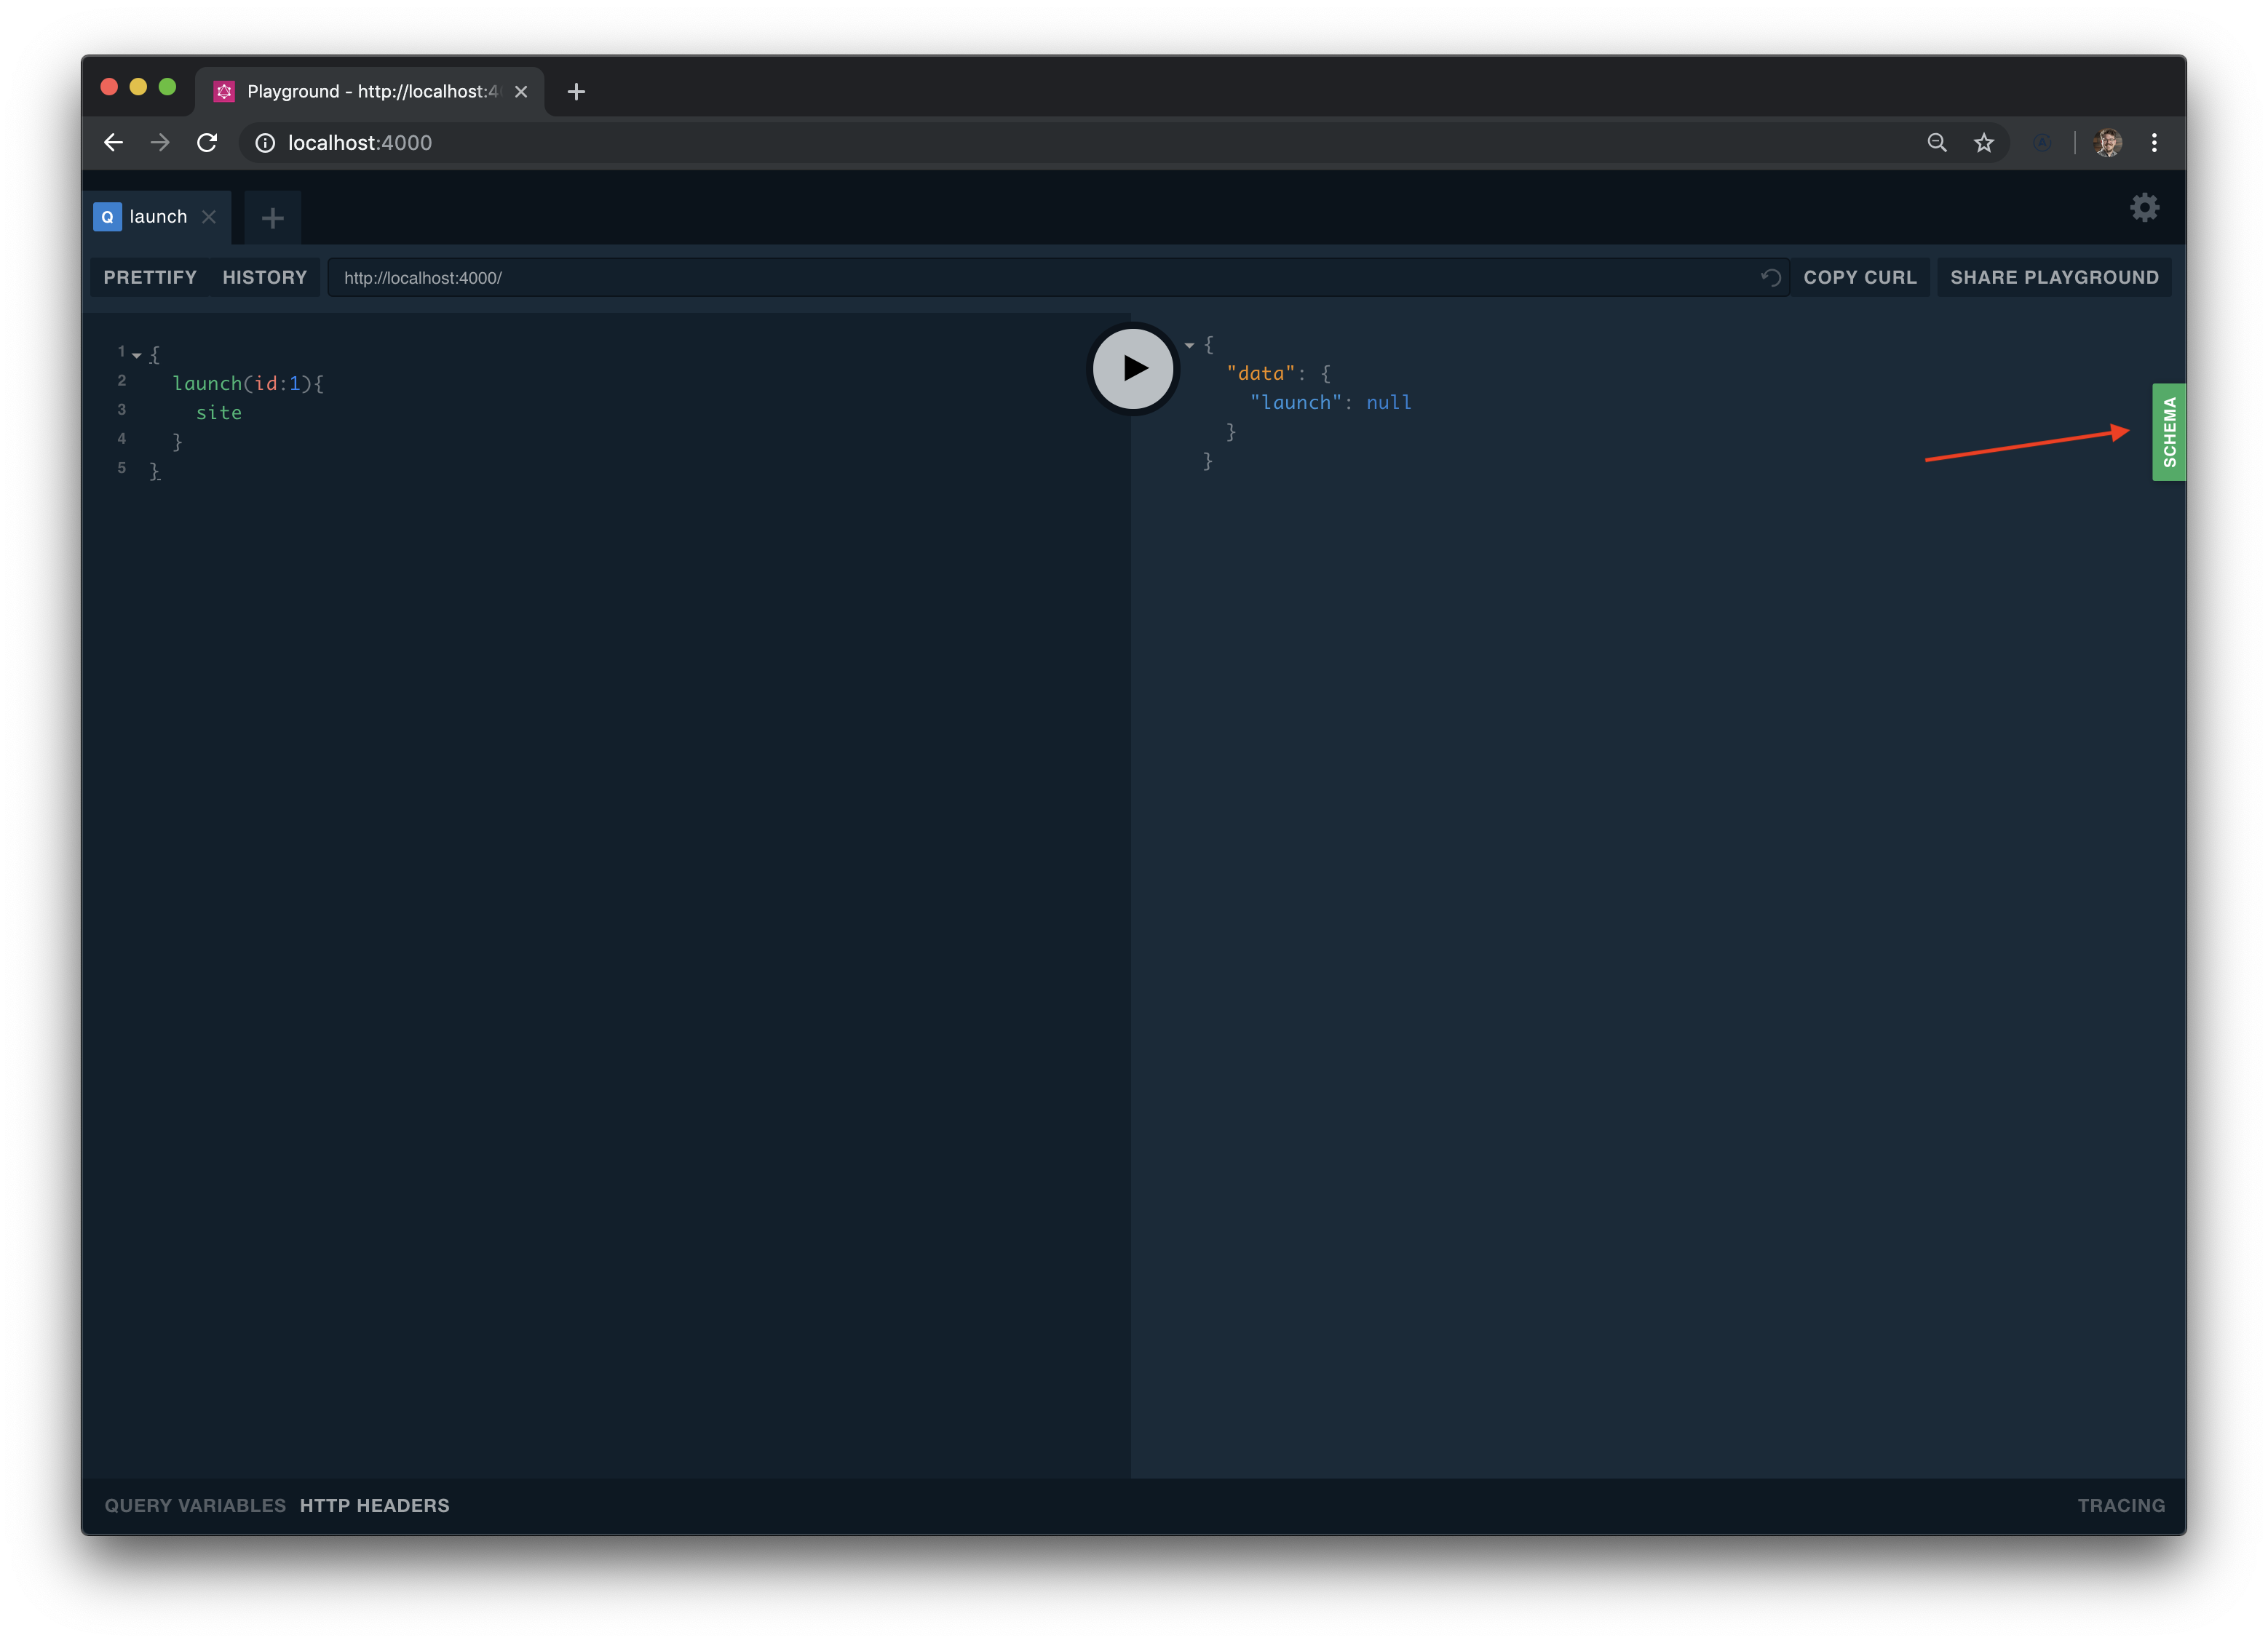
Your schema's queries, mutations, and object type definitions appear:
Our server now knows which GraphQL types and operations it supports, but it doesn't know where to obtain the data to respond to those operations. Next, we'll connect our server to two data sources.